10 Common Bunting Mistakes That Ruin Party Photos (and How to Fix Them)
Bunting does more work per dollar than almost any other party decoration. A few strings of triangles can turn a bare back fence into a backdrop, soften a plain hall, and give guests an obvious place to stand. It also photographs more honestly than most decor: a sagging line, a muddy color clash, or a string hung at the wrong height will show up in every picture, and editing won't quietly rescue it.
The ten mistakes below are all small, visible problems with small, visible fixes. Most take under five minutes, and nearly all of them can be handled in the half hour before guests arrive.
Sagging Lines and the Droop That Eats the Frame
A bunting line should hang in a shallow curve. When it sags into a deep smile, the middle of the string drops into your photo frame, cuts across faces, and hides the thing you hung it to frame in the first place.
Two things cause sag: weight and span. Fabric triangles are heavier than they look, and a line stretched across four or five meters with only two anchor points will always bow. Tightening the string alone won't fix it — you'll just pull hooks out of the wall or bend a fence post.
Add support instead. Put a hook or nail at the midpoint, and run a taut guide line first: thin cord, garden wire, or heavy twine pulled tight between the end points. The guide line carries the weight and the bunting just decorates it.
How to get a clean, even swag
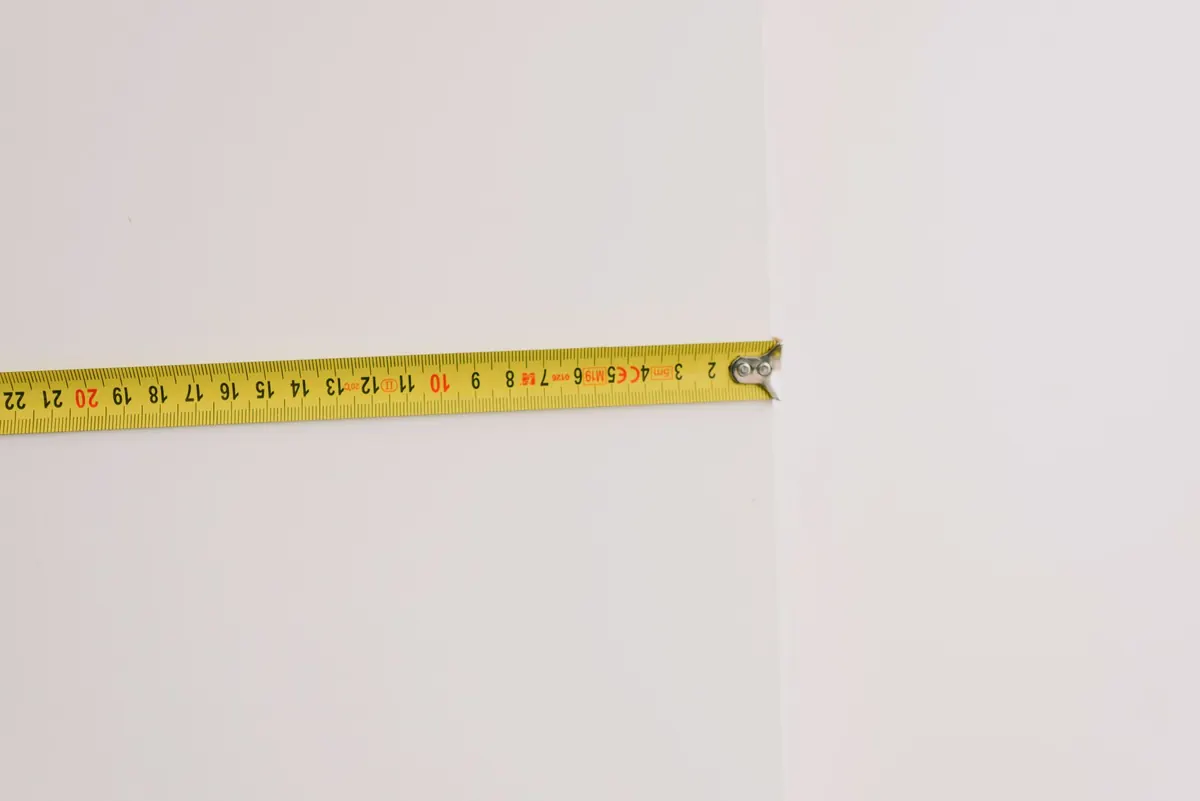
- Set your anchor points before you hang anything, and check the height with a tape measure rather than your eye.
- Tension the guide line until the sag in the middle is roughly 5 to 10 cm, not 30.
- Attach the bunting with small clips or loops so each section can slide into place.
- Work from the middle outward, spacing as you go, so leftover slack ends up at the anchors instead of the center.
Color Choices That Fight the Camera
Bunting rarely clashes with itself. It clashes with everything around it.
Before you buy or hang, look at three things: the wall or fence behind it, the surface below it, and the light. A pale pastel string against a white wall in a bright room disappears entirely — you get a faint smudge and a lot of blown-out highlights. The same pastel bunting against a dark green hedge looks deliberate and crisp.
Busy backgrounds are the other trap. Striped wallpaper, patterned tablecloths, or a garden in full flower will swallow a many-colored line. In that setting, choose two or three colors and let one of them lead.
One reliable rule: find the color that appears in the smallest amount elsewhere in the scene — the icing, the napkins, the flowers — and echo it. That's what makes a photo look planned rather than assembled.
Wrong Heights, From Cropped Heads to Ceiling Stripes
Height is where most bunting photos go wrong, and the mistake usually stays invisible until you see the pictures.
Hung too low, bunting cuts through faces. Hung too high, it becomes a thin stripe at the top of the frame with a large, empty gap between the decorations and the guests.
Rough working heights:
- Photo backdrop: top of the line around 2 to 2.4 meters, with the lowest point of the swag sitting just above head height. Guests stand in front; the bunting fills the space behind their shoulders.
- Above a table or cake: keep the lowest dip at least 60 cm above the tallest thing on the table so it doesn't look as though it's resting on the cake.
- Walk-through lines: keep the lowest point above 2 meters so tall guests don't walk into it.
- Ceiling runs: if you can't bring the bunting down, bring something else up — balloons, paper fans, or a fabric panel to close the gap.
Stand where the photos will be taken, hold your phone at about the height the camera will be held, and look. If the bunting crosses a face or floats above everyone, move it now rather than later.
Tangled Strings and the Setup Order That Prevents Them
Tangled bunting is almost always caused by the same thing: unpacking it in place, at height, with people waiting.
- Unpack and untangle every string flat on a table or the floor before anything goes on a wall.
- Run each line through your fingers, checking for knots, twisted triangles, and loose stitching.
- Hang the guide line and tension it first.
- Attach the bunting from the middle outward, adjusting spacing as you go.
- Wind leftover string into a figure-eight around your hand rather than a ball. It won't knot when you unroll it next time.
- At the end of the party, wrap each string around a flat piece of cardboard and label the length. Next year's setup takes ten minutes instead of forty.
Keep scissors and a few spare clips in your pocket while you hang. Chasing them across the garden is how lines end up knotted and uneven.
Small Details That Ruin an Otherwise Good Photo
These don't get much attention, and they show up in every frame.
- Shiny or glossy flags. They catch flash and window light as hot spots. Matte fabric and paper photograph far better.
- Bunting hung against a bright window. Backlighting turns it into a dark silhouette. Move it to a wall, or add light on the bunting side.
- Bunting hung in front of a lamp or fairy lights. It throws striped shadows across faces.
- Uneven spacing. Gaps that wander read as accidental. Keep spacing consistent — either triangles touching, or a gap no wider than half a triangle.
- Creased flags. A five-minute press on low heat, after checking the fabric care instructions and testing one flag, makes the whole line look sharper.
- Flapping, unsecured ends. In wind, loose ends blur across the frame. Tie them off or add a small weight.
On-the-Day Fixes for Bunting You've Already Hung
If the party starts in twenty minutes and the bunting is wrong, most of it can still be recovered.
- For sag: add one hook at the midpoint and lift the line a few centimeters. That's usually all it needs.
- For a color clash: shift the string to a plainer wall and let flowers or a plain backdrop carry the color instead.
- For a bad height: leave the main line where it is and add a second, lower line. Two lines frame a group of people better than one.
- For tangles: cut the knotted section out, re-tie the ends, and hide the join behind a triangle.
A Two-Minute Check Before the Photos Start
Before anyone picks up a camera, do one lap of the room. Stand at the spot where the group shots will happen and look through your phone at camera height. Check the line for sag, for gaps, and for anything crossing a face. Then check the light: turn off a lamp if it's throwing stripes, or close a curtain if the bunting is backlit.
If it looks right on a small screen, it will look right everywhere. And if a string still won't behave, take it down. A clean wall photographs better than bunting that fights the frame, and you can always move it to a corner where it becomes a quiet detail instead of the main event.
Photo: stephmcblack / Pixabay

You Might Also Like
A practical local guide to borrowing or renting community bunting, checking it before you take it home, and storing it so it survives to the next festival.
Windy gardens punish flimsy bunting. Here is how to choose weatherproof flags, anchor them properly, and space lines so they stay up.